- All-In-One Beekeeping for the Bees
- +1-608-728-8233
- info@beepods.com
De-Winterizing Your Hive

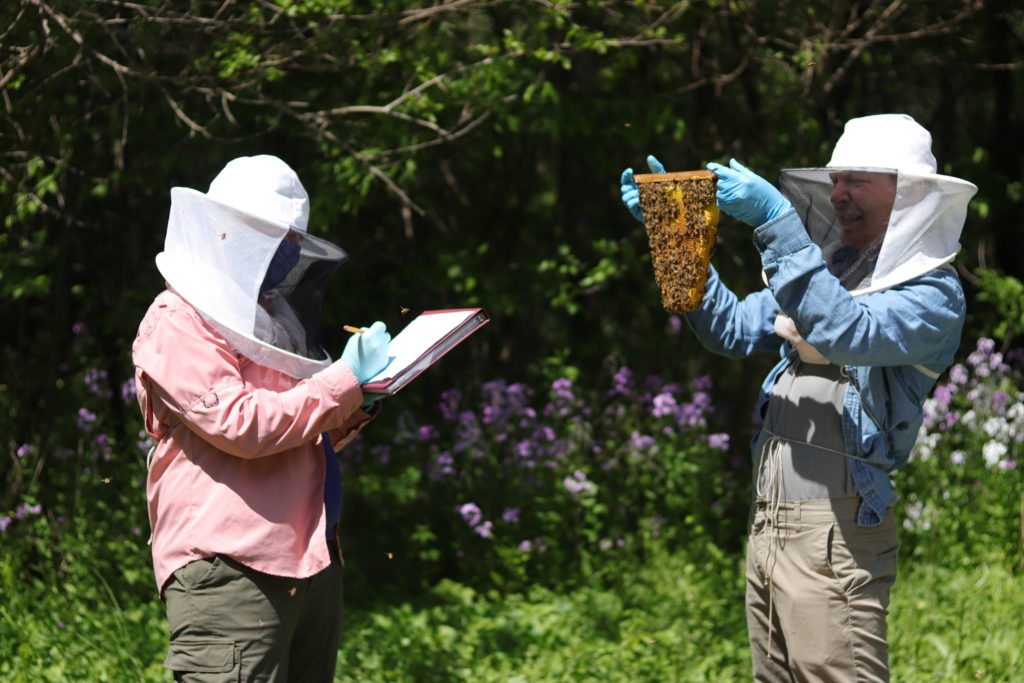
Some Beepods hives getting ready for Spring

Some Beepods hives getting ready for Spring
Punxsutawney Phil just popped up the other day and said spring’s right around the corner. That’s good news! Spring means it’s time to get back to work with our hives. Hopefully you took our advice on how to winterize your hive, but either way there’s work to be done. Depending on your hive’s particular condition getting it ready for spring will take a couple of different forms, but let’s talk about some of the basics that everybody needs to know about de-winterizing your hives.
Assessment
The first thing you need to do when you’re de-winterizing your hive is to figure out what state your hive is in. Let’s go over how. To start, do a visual inspection of your hive. It’s a pretty simple way to begin, but still very important. Look for any structural damage. Is the hive still in one piece, are there large cracks, are parts bent or broken – these are the kinds of questions you should be able to answer with a visual inspection.
Once you’ve gotten your hive itself assessed it’s time to move on to the real stars of the show: the bees! Winter is a rough season for bees, especially if you live in a hardcore climate like we do here at Beepods. It’s not uncommon to lose a significant chunk of your bee population over the winter. If it looks like most of your bees made it through unscathed, great! Your next step is to check for Varroa mites and other parasites that may have gotten their gross little claws into your hive after you winterized it. For more information on Varroa mites, check out this blog I wrote going over finding and dealing with them in more detail. You’ll also want to check that your hive still has a queen to pump out all those new workers it’ll need for spring.
The last part of your assessment is going to be making sure the area around your hive is still appropriate for beekeeping. Seasons come and go, and they bring changes to the environment with them. Make sure the ground under the hive didn’t get spongy or swampy as spring rolled around. If there were a lot of wildflowers or other fauna around, keep an eye out to see if they’re popping back up. You want to give your bees the best chance to prosper, and assessing and potentially re-siting your beekeeping area is a crucial part of that. Once you’ve figured out when your hive needs, the next step is do it!
Cleaning
An important part of de-winterizing your hive is getting it all cleaned out. Things can get messy in there when your bees cooped themselves up for the winter. There are a lot of different ways to go about getting your hive cleaned, one of which is detailed in an article on Sciencing.com here. The gist is that you first need to get your bees to buzz off (just a little bee pun, we have fun). Once they’re out of the way you can get to cleaning. You’re going to want to clear off any debris that snuck its way into the hive, whether that bee dead bees, misapplied propolis that’s gumming up the works, old wax that’s breaking down, or plain old dirt.
A thick bristled brush will usually do the trick for looser debris. For the hardier gunk you may need to burn it off, or use a hot water and bleach mixture to loosen up the rough patches. Soak the sections of comb you’re cleaning and alternate between washing and scrubbing. Be sure to clean the combs before putting them back into the hive. You don’t want to expose your bees to any more chemicals than you have to. Once you’re done rinsing off the hive, it’s time to put everything back into the hive and get it all put back together. And with that, we’re on to our next step:
Repair
Once you’ve assessed and cleaned the next step on de-winterizing is repairing. Everything breaks after a while, that’s just how life works. For beekeeping equipment, especially your hive, the real killer is moisture. If the mechanical parts of the beehive break down, you’ll need to either repair or replace them. Replacing is simple, get a copy of the broken piece and slot it in. The most efficient way to drive down costs is to not skimp on the initial equipment. Buying a quality product and maintaining it is more cost effective than buying something cheap and having to constantly replace parts. Repairing can be a little trickier, but also more cost effective. A lot of simple repairs don’t need a whole bunch of resources. For example, here’s a video in our member’s library about how to repair comb with plastic ties. And never overlook the value of duct tape.
The other part of repairing is getting your hive ready to go for the spring. Things can shift during the winter. This step is where you apply the information you got from your assessment. The ground got spongy? Build a new foundation. Did winter winds knock over your windbreak? Put it back up or make a new one. If your wildflowers aren’t coming back, go ahead and plant some of your own. Make sure the hive has proper ventilation set up, and put out countermeasures for local predators. Basically, when you’re de-winterizing your hive, you need to re-site your yard and make sure everything is in tip-top shape. After that, you get to reap the rewards.
Harvest
Remember to keep your eyes on the prize! We’re de-winterizing our hives so we can get back in there and keep those bees. Those little workers need all the honey they store during the winter – it’s too cold for them to go foraging and bringing back all that sweet sweet nectar and pollen. Once spring comes around and they can get back out into the world, though, they start making more than they need. They make more than they can even store long-term. That’s where we as beekeepers come in, taking the extra honey and other bee products off our little friends’ hands.
And if the worst happens, and there aren’t any bees waiting for you come springtime, we’ve got you covered there too. Beepods offers bee delivery right to your door. You can also buy a nucleus hive if you’re looking to start from scratch. What’s really important is that you’re willing to give it another shot. Beekeeping is a process, and Beepods is here to help you become a better beekeeper. So let’s get excited for some spring beekeeping!
Mathew Brandfass
Latest posts by Mathew Brandfass (see all)
- How Bees Use Comb - June 5, 2020
- Abnormal Comb: How to Make Your Bees Stop Making It - May 29, 2020
- Beekeeping Season: How to Make Spring Work for You - May 22, 2020
