- All-In-One Beekeeping for the Bees
- +1-608-728-8233
- [email protected]
Next Year’s Science Lessons Just Got a Whole Lot Better

Top Bar Beepod Beehive
Summer’s here and the time is right…for planning next year’s science lessons! OK, maybe that’s not the first thing that comes to mind but your students will be much more engaged if you put in some planning time over the summer. Maybe your school just got a Beepod or is planning to get one this coming school year. Spend some time figuring out how you will integrate this hands-on science tool into your science lessons.
The Gear
A good starting point is to introduce your students to the materials that are included in your Beepods Beekeeping System.

Top Bar Beepod Beehive
Beepod Vented Topbar Hive
A key skill in many science lessons is learning how to make observations. Start by bringing your students to your hive and asking them to record observations about the structure of the hive itself. If you haven’t set up the hive yet, you can bring it to them. They should look both inside and outside the Beepod. Then have them share their observations.
Be sure they notice the bars where the bees will make a comb, including the feeder bar. Point out the wax coating on the bars and ask them what the purpose of that might be (to allow the most secure attachment of the bees’ comb). Also, show them how to lift out a bar and point out the ventilation grooves that permit the passage of air but not bees. Be sure they notice the spacer bars. What would happen if you had more space between bars? (The bees would draw a wider comb.) Point out the locking lid, the windows on the side (BeeTV), the entrances, and the bottom vent boards. Show them how you can reach underneath and adjust the slots to your desired level of ventilation based on outdoor temperature and humidity. Also, let them know that the vents might get gunked up with propolis and need cleaning at some point.
After that, show them an image of a traditional langstroth hive and have them note similarities and differences. Ask your students why bees are more docile during hive inspections in a top bar system (you only open a small section of the hive at a time). Show pictures of full honey supers and top bar combs. See if they can come up with another advantage of the top bar hive (you eliminate the heavy lifting). Let them know that full supers weigh from 40 up to 70 pounds. Each bar in a Beepod can weigh 3-8 pounds. For younger children, help them understand those weights by relating them to everyday objects such as a 5-lb 2-liter bottle of soda and a 50-lb suitcase that is so heavy the airlines charge extra for it.)
 Beepods Inspection Kit
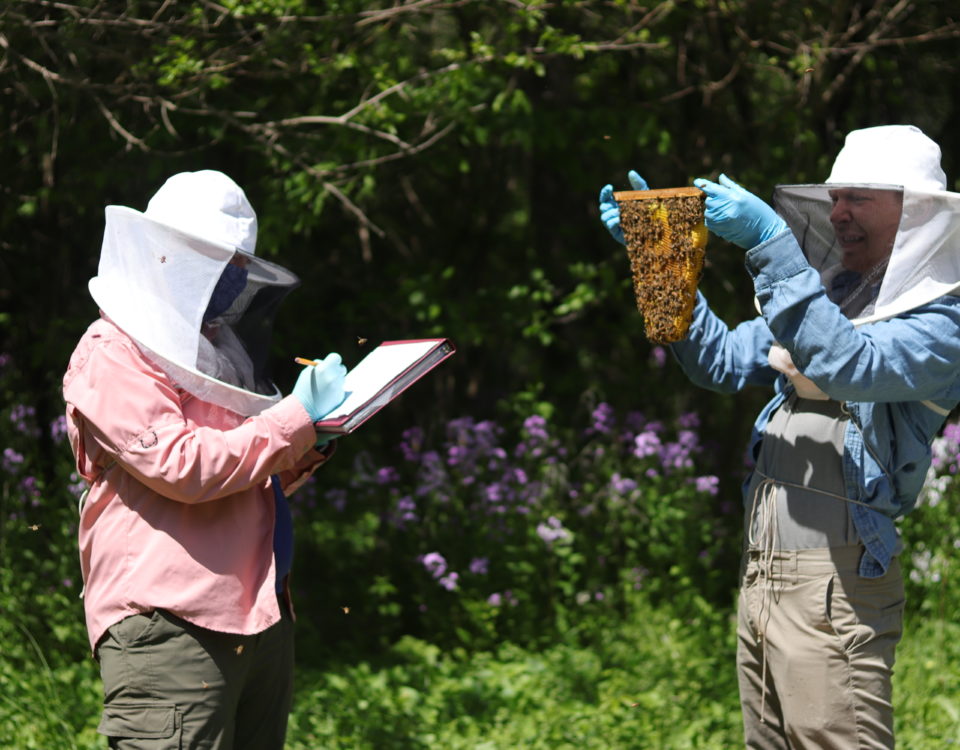
Once you have dedicated a few science lessons to introducing the Beepod, it’s time to teach them how to do inspections. Hand out copies of the hive inspection checklist and go through it with your students. Based on the age of your students, you can choose what level of detail you want your students to record. This provides excellent practice collecting data and makes for an easy participation grade. Students should save their inspection sheets in a binder so they can look back at them to draw conclusions. If your school has a Beepods membership, you may also choose to enter your data in the Healthy Hive Management Software. This allows you to create educational data sets and helps Beepods to keep track of the health of your hive.

Beepods Hive Tool and Feather Guider
Beepods Hive Tool and Feather Guider
Show students the hive tool and have them guess its purpose. Then explain that it is used to pry bars apart or gently remove comb from inside the Beepod. Next, pull out the feather guider and have students guess what it is used for. If they don’t guess, tell them it is for nudging bees out of the way while inspecting the hive. Then ask them why a feather guider would be better than a brush and smoke. (Bees can get caught in a brush and smoke isn’t good for the beekeeper.)
 Beepods Jacket Veil
If you really want to get your students’ attention, walk into the room wearing a Beepods jacket veil. While many beekeepers don’t find it necessary to wear one, it can be helpful if your bees are getting upset. It might also be handy to have a few available for any children who are too afraid to approach the hive. This would also be a good opportunity to teach the students the difference between bees and wasps and how bees get a bad rep because of wasps. Discuss why honey bees sting and how to avoid upsetting the hive when doing an inspection.
As you plan your school year, set aside days each month to take your classes to the hive and to work with the data. Keep your hive in mind as you teach your students various science skills including graphing data, using the scientific method, and doing scientific research. You will become increasingly more comfortable with using your Beepod as a teaching tool as time goes on. Remember to look back at your data to help keep your hive healthy and share photos of the students at the hive (parents love that).
Resources:
https://www.beepods.com/wp-content/uploads/media/First-Time-Beepod-Beekeeper-PDF.pdf
https://www.motherearthnews.com/homesteading-and-livestock/langstroth-top-bar-or-warre-zbcz1310
http://www.njbeekeepers.org/nwba/documents/Harvesting%20Honey%20Notes.pdf
Bill Polacheck
Latest posts by Bill Polacheck (see all)
- Level Up with a Beekeeping Course - September 15, 2020
- Beepods Harvest Box: Helping Your Bees Survive the Winter - September 8, 2020
- Simple Ways You Can Communicate Like a Bee - September 1, 2020


